
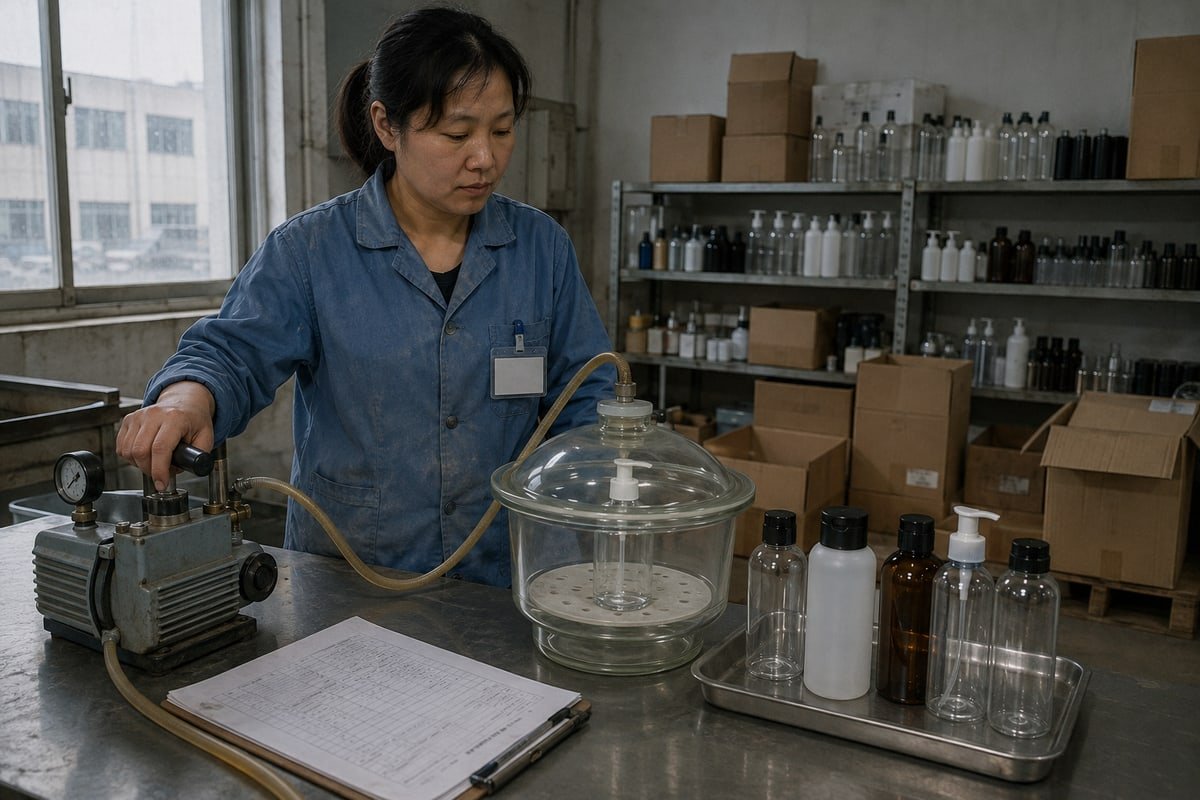
A single leaking cap can ruin a pallet of product. On our Taizhou production line, we check PET bottle neck-cap seal quality daily, because buyers pay for skipped tests.
To test PET bottle neck-cap seal quality before purchasing, request assembled samples, verify neck finish dimensions and torque data, then run vacuum leak, pressure, and dye penetration tests. Confirm results with third-party lab reports that match your product type and shipping conditions.
A cap can look perfect and still leak. The seal is a system, not a part. In this guide, I will walk you through the exact checks I recommend to every buyer before they place a bulk order.
What Simple Tests Can I Perform to Check Neck-Cap Seal Integrity Before Bulk Ordering?
Last spring, a batch of lotion bottles passed our visual check but failed a simple squeeze test. That near miss changed how we screen every sample at our factory.
Simple pre-purchase tests include the inverted bottle test, the squeeze test, a water-submersion bubble check, a basic vacuum leak test, and a dye penetration test. Perform each on fully assembled bottle-and-cap samples, not on caps alone, to reveal hidden neck-cap seal failures.
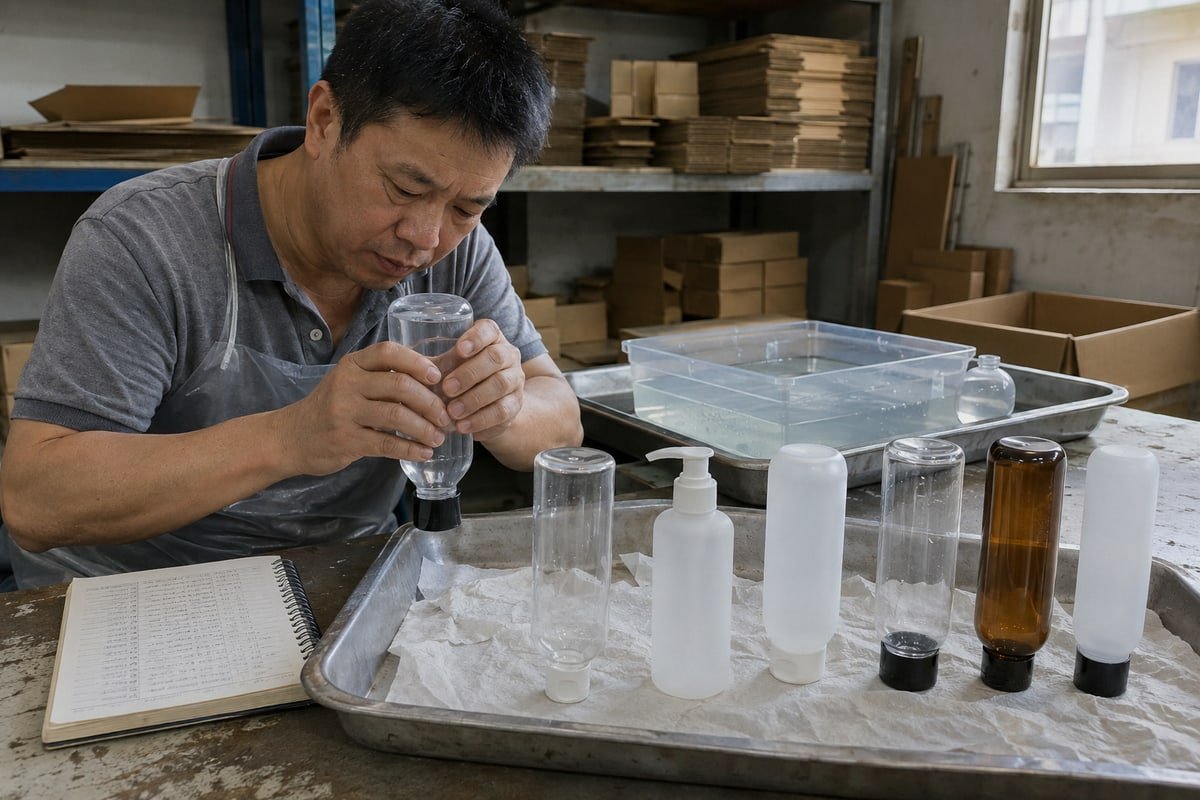
The most important rule is this: always test the assembled system. The neck-cap seal is the interface between the bottle finish and the closure. A cap tested alone tells you almost nothing. When we ship samples to procurement teams in the US and Australia, we always send the exact bottle-and-cap pairing they will receive in bulk, because seal behavior depends on the real thread-and-neck interface.
Five Tests You Can Run Without a Lab
| Test | What You Need | What It Reveals |
|---|---|---|
| Inverted bottle test | Water, paper towel, 24 hours | Slow liquid leakage through threads or liner |
| Squeeze test | Filled, capped bottle | Weak liner seating and low seal pressure |
| Water-submersion bubble check | Clear tank, gentle internal pressure | Air escaping at the neck-cap interface |
| Basic vacuum leak test | Desiccator jar and hand pump | Seal failure under negative pressure |
| Dye penetration test | Colored surfactant solution | Liquid migration through the thread path |
Start with the inverted test. Fill the bottle, cap it at normal hand torque, and leave it upside down on tissue paper overnight. Then move to the squeeze test. Gentle, steady pressure will expose a liner that does not seat evenly. A simple vacuum leak test in a desiccator adds another layer, since some seals hold under pressure but fail under vacuum.
Check the Tamper-Evident Band
Also inspect any tamper-evident band. Look for uniform bridge thickness and proper engagement with the bottle locking ring. Uneven bridges can break during transit and compromise the seal before your customer ever opens the product.
Which Torque and Thread Specifications Should I Verify With My Supplier?
A procurement manager in Australia once asked me why her jars loosened in transit. The answer sat in a torque chart her previous supplier had never shared.
Verify the neck finish designation, thread style, and E, T, H, and S dimensions, plus the closure application torque range and removal torque after conditioning. Ask whether torque was measured on assembled samples with a calibrated digital torque tester, and request tolerance documentation.
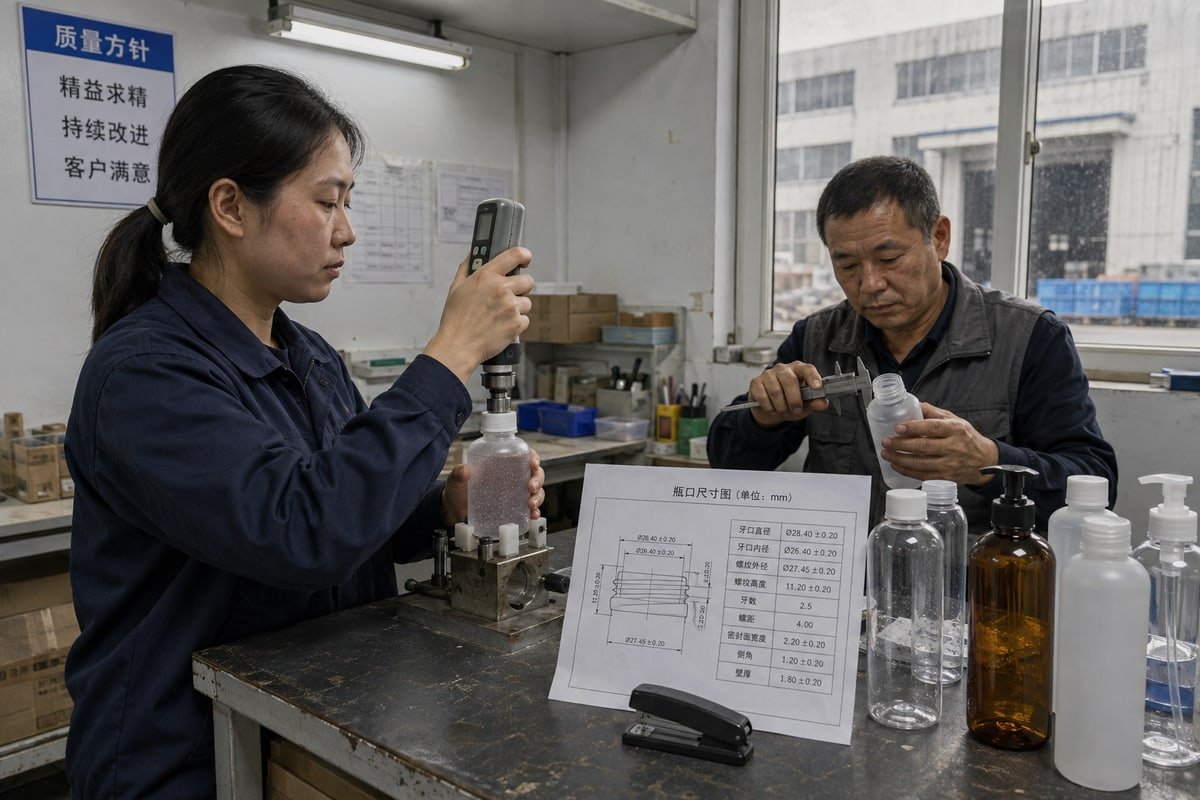
Thread compatibility is where most seal failures begin. Before you approve any sample, ask your supplier for the exact neck finish drawing. Then measure it yourself with precision calipers. On our side, we log these dimensions for every mold, because a drift of a few tenths of a millimeter can turn a tight seal into a slow leak.
Decode the Neck Finish Dimensions
| Dimension | What It Measures | Why It Matters for the Seal |
|---|---|---|
| E | Outer diameter of the thread root | Controls how deep the cap threads engage |
| T | Outer diameter across the threads | Determines cap-to-neck fit and stripping risk |
| H | Height from sealing surface to shoulder | Affects liner compression and cap seating |
| S | Distance from top to first thread | Sets thread start position and application feel |
Ask the Right Torque Questions
Torque testing deserves equal attention. Request both the application torque and the removal torque, and confirm they were measured with a digital torque tester 1 on capped, conditioned samples. Removal torque naturally drops over time as the plastic relaxes, a behavior known as back-off. So a reading taken seconds after capping is not the same as one taken after 24 hours. Insist on the conditioned figure.
One more detail we flag for buyers: closure geometry matters. Tethered or hinged caps can introduce asymmetrical pressure on the sealing land compared to traditional flat caps. If your project uses flip-top or hinged closures, ask for torque and seal data specific to that geometry, not generic numbers borrowed from a flat-cap spec sheet.
How Can I Spot Leakage Risks During Sample Inspection?
We learned the hard way that a shiny sealing land can hide flash, ovality, or contamination. Now our QC team inspects every neck under magnification before samples ship.
Spot leakage risks by inspecting the sealing land for flash, scratches, and ovality, checking liner seating and tamper-evident bridge uniformity, running a dye penetration test on threads, and using polarized light to reveal molded-in stress that causes creep and seal failure under pressure.
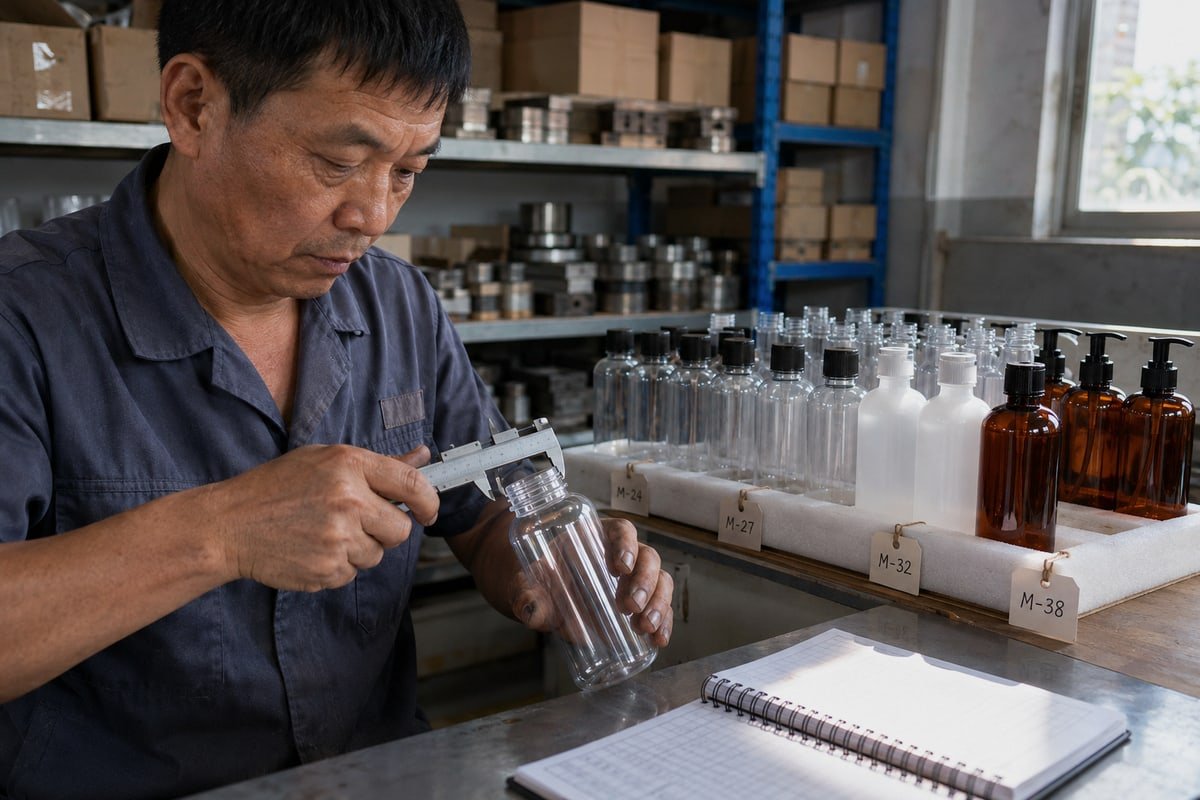
Sample inspection is your last cheap chance to catch a problem. After the samples arrive, do not rush to approve them. Studies on pressure differential detection have shown that micro-scale defects in liners and caps are enough to cause seal failure. That means your inspection needs structure, not just a quick glance.
A Step-by-Step Sample Inspection Routine
- Run a fingertip and magnifier check across the sealing land. Feel for flash, nicks, and mold parting-line ridges.
- Check neck ovality by measuring the diameter at two perpendicular points. An oval neck seals unevenly.
- Remove the cap and examine the liner. It should sit flat, centered, and free of wrinkles or debris.
- Inspect the tamper-evident band bridges for uniform thickness and clean engagement with the locking ring.
- Apply a colored surfactant around the capped neck for a dye penetration test. Any color inside the threads after a set dwell time signals a leak path.
- View the neck finish under polarized light. Rainbow stress patterns reveal molded-in stresses that can creep and open a leak under pressure or heat.
- Cycle a filled sample between hot and cold conditions. PET and cap plastics expand at different rates, and a temperature cycle stress test exposes seals that loosen during hot-filling or cold storage.
We run this exact routine on outgoing samples in Taizhou. It takes under an hour per sample set, and it has saved our clients from repeating the leakage complaints that pushed them to switch suppliers in the first place.
Should I Request Third-Party Lab Reports to Confirm Seal Performance?
There is a real trade-off between sample cost and shipment risk. In our export work to Germany and the US, one lab report often costs less than one returned carton.
Yes. Request third-party lab reports for high-value or long-distance orders. Reports should cover secure seal or pressure decay testing, vacuum leak testing per ASTM D3078, torque data, and aging or transport simulation, with documented sample sizes, test parameters, and clear pass-fail criteria.

Some suppliers will tell you that a visual inspection plus a torque check is enough. I disagree, and I say that as someone who sells the bottles. Torque alone does not prove leak-tightness. A cap can hit the target torque and still leak through a flawed liner or a mismatched neck. That is why lab evidence matters, especially before a first bulk order.
What a Credible Report Contains
A useful report names the method, the parameters, and the acceptance criteria. Vague language like "passed QC" is a red flag. For vacuum-based methods, bubble emission testing per ASTM D3078 2 is a recognized reference. For pressure-based methods, a secure seal tester applies controlled internal pressure while the bottle sits submerged, and technicians watch for pressure drop or bubbles. Pressure decay testing does the same job with instrumented precision instead of visual observation.
Match the Test Parameters to Your Product
| Product Type | Recommended Pressure Sequence | What Is Checked |
|---|---|---|
| Non-carbonated liquids | 200 kPa for 1 minute, then 350 kPa for 1 minute | Leakage and cap lift |
| Carbonated beverages | 690 kPa for 1 minute, then 1207 kPa for 1 minute | Air leakage and cap pop-out |
| Sensitive or long-shelf-life goods | Vacuum, aging, and OTR analysis | Barrier integrity over time |
For carbonated products, also ask whether the closure was validated against ISBT guidelines 3, since carbonation retention depends on the closure holding pressure for the full shelf life. For oxygen-sensitive formulas, an oxygen transmission rate 4 measurement at the seal interface confirms long-term barrier performance. And do not let any vendor sell you one "best" method. The right test depends on your product, its pressure environment, and the failure mode you fear most. Finally, check the sample size. A proper evaluation tests multiple assembled samples and reports variation, not a single lucky bottle.
Conclusion
Leaks destroy margins and trust. Verify dimensions, torque, and seal tests before ordering. If you want assembled samples backed by documented QC data, our Taizhou team is ready.
Footnotes
1. Technical overview of instruments used to measure application and removal torque in packaging. ↩︎
2. Official standards organization providing the D3078 bubble emission test method for leak detection. ↩︎
3. International authority providing technical guidelines for beverage closure and seal performance. ↩︎
4. Scientific resource explaining OTR measurement and its importance in packaging barrier integrity. ↩︎
